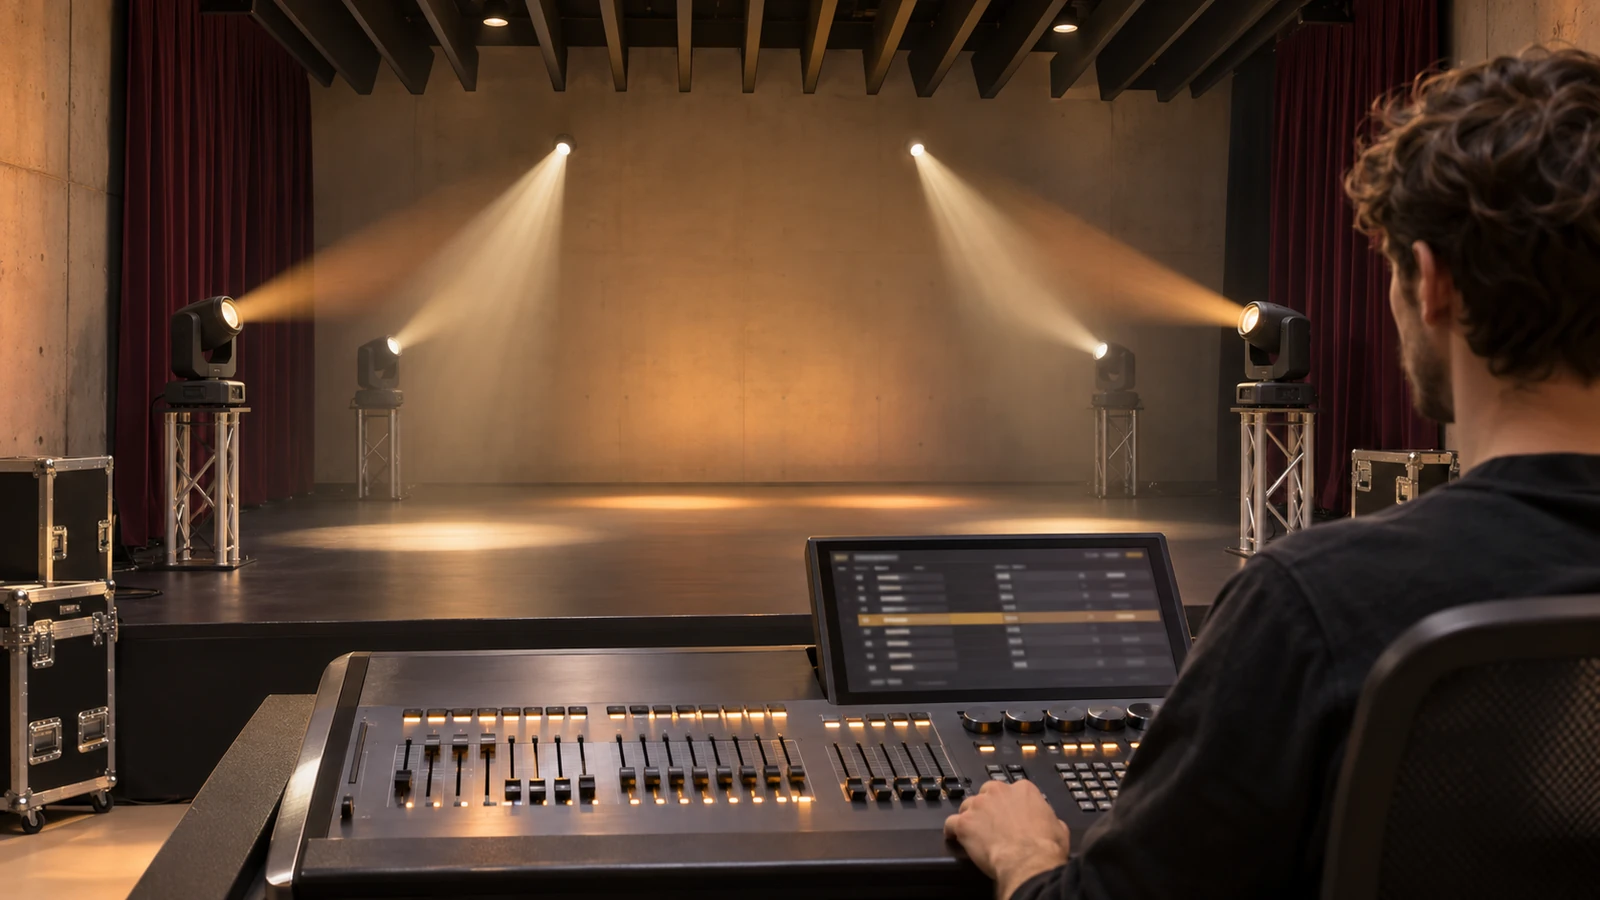
Start learning how to program moving head lights by matching the fixture’s DMX mode to the console profile. Assign non-overlapping addresses, test one unit, then save positions and optical settings before recording cues. Rehearse each transition with the actual fixtures so the intended position and effect are ready when the light appears.
Start with a small result you can repeat. This guide builds one look at Position A, changes a prism effect, moves to Position B in darkness, and reveals the second look. A patch sheet and cue record let another operator follow the same plan.
Get the fixture, profile and desk ready
Have the current channel chart, matching console profile, selected mode and fixture software version available. A profile translates the desk’s named controls into the values the fixture expects. A matching channel count is one check, and the functions must agree too.
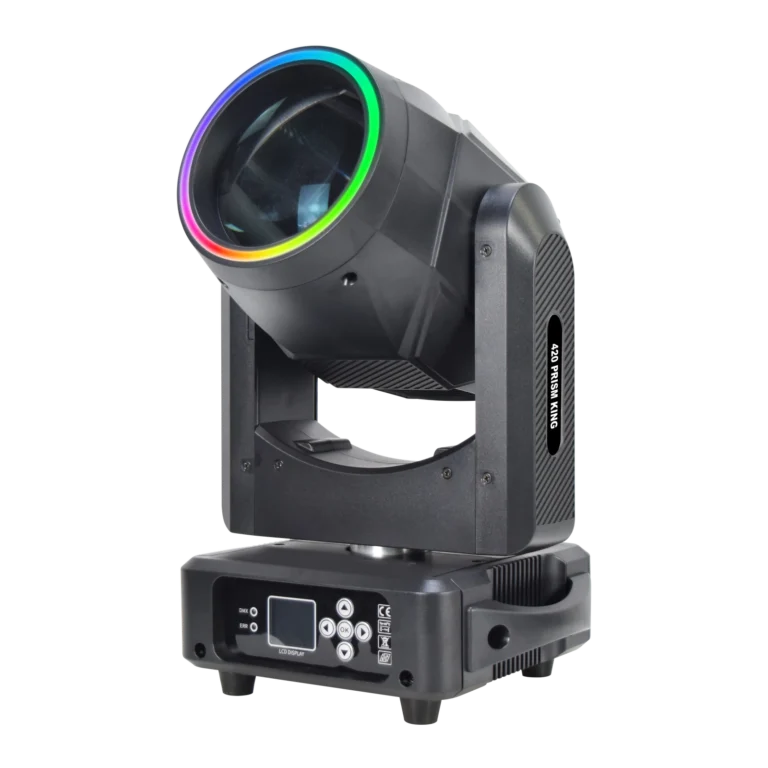
Use the 420 Prism King Beam Moving Head Light as a practical example. Its listed DMX modes use 18 or 22 channels. It has a 300W lamp, a fixed nominal 2° beam, fixed gobos, a color wheel and four prism structures. The RGB front ring adds a separate visible accent around the main lens.
The supplied 420 manual lists an 18-channel layout and an extended 22-channel layout. Their first 16 channels match; the LED strip controls move to different channel numbers in the extended layout. Confirm that the profile matches the selected layout and the version of the unit being used.
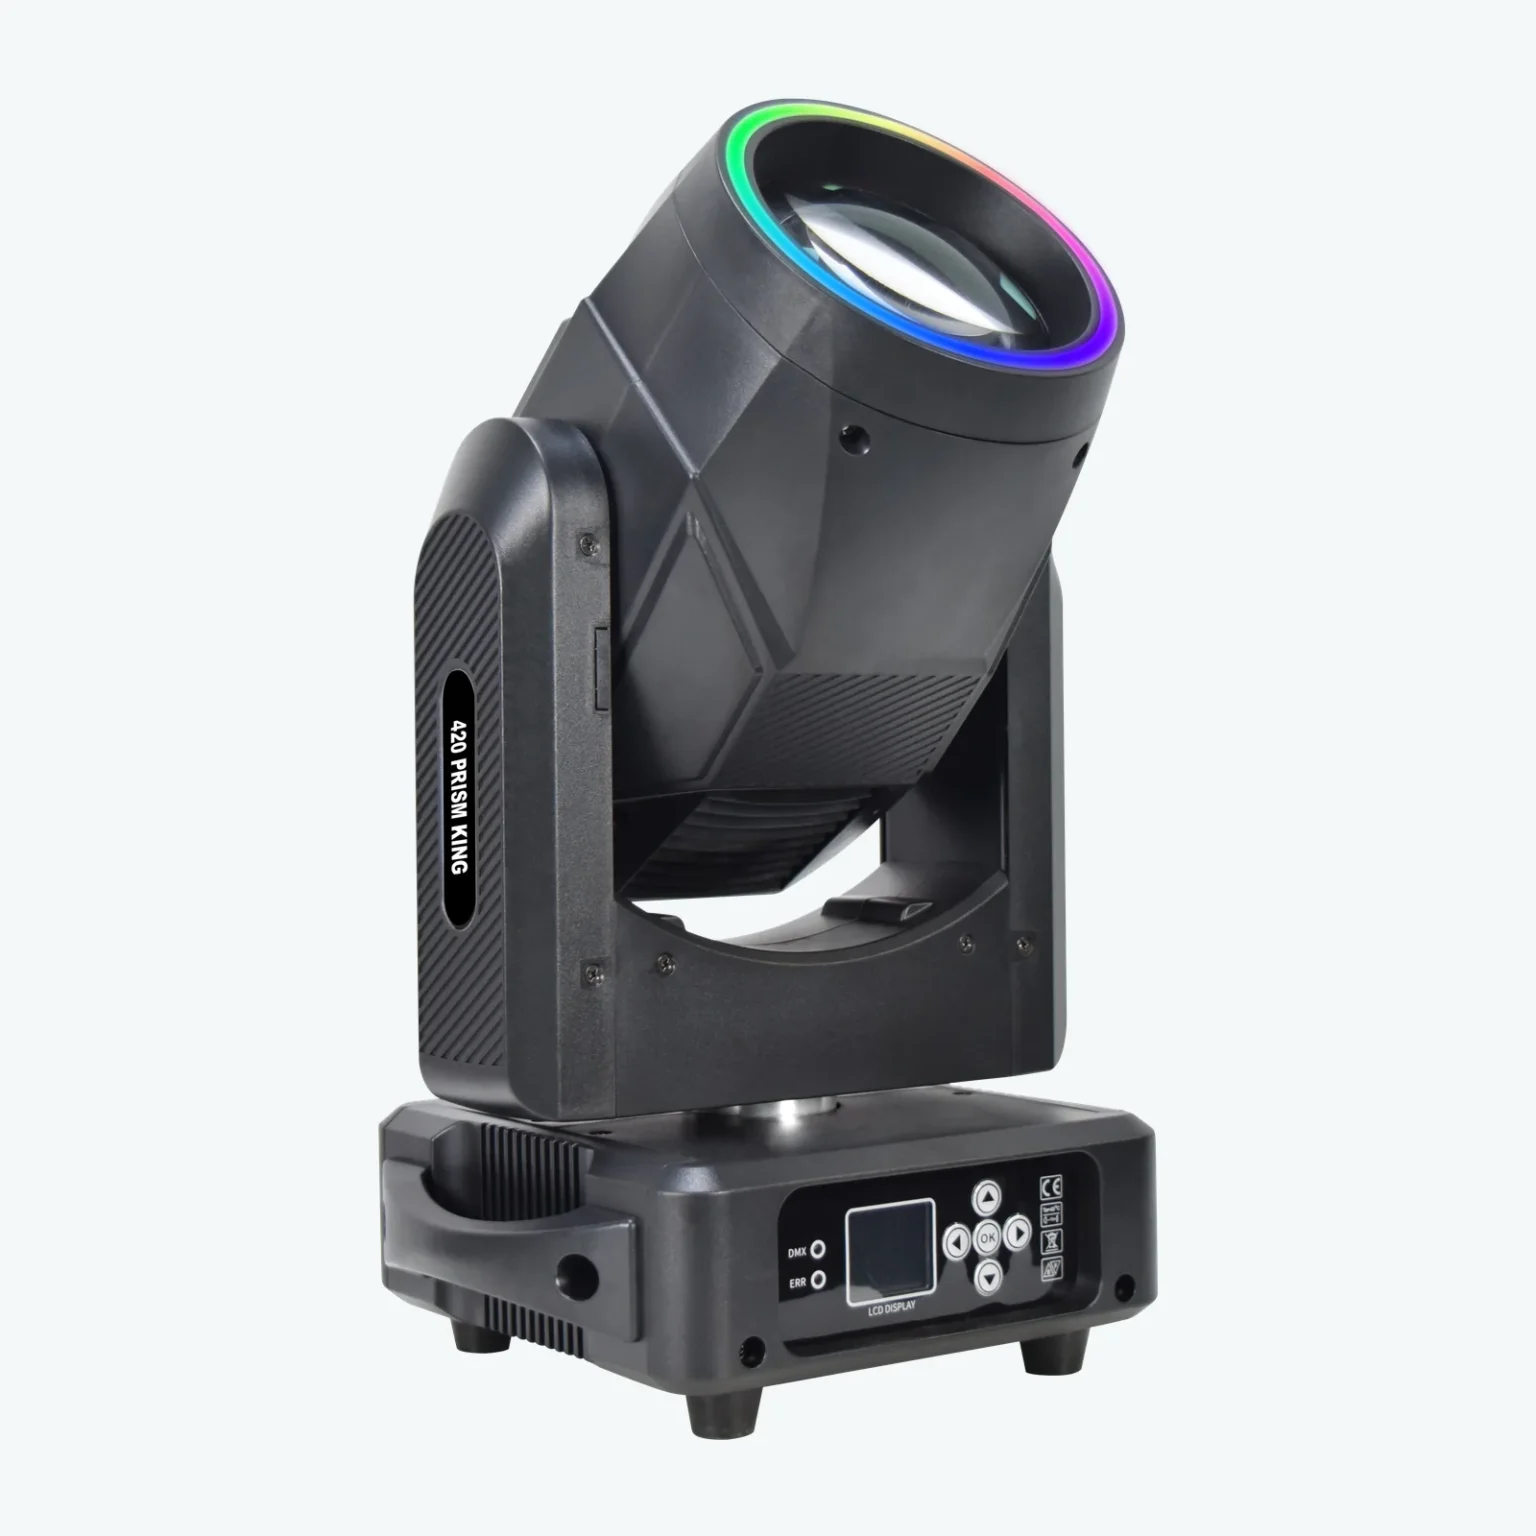
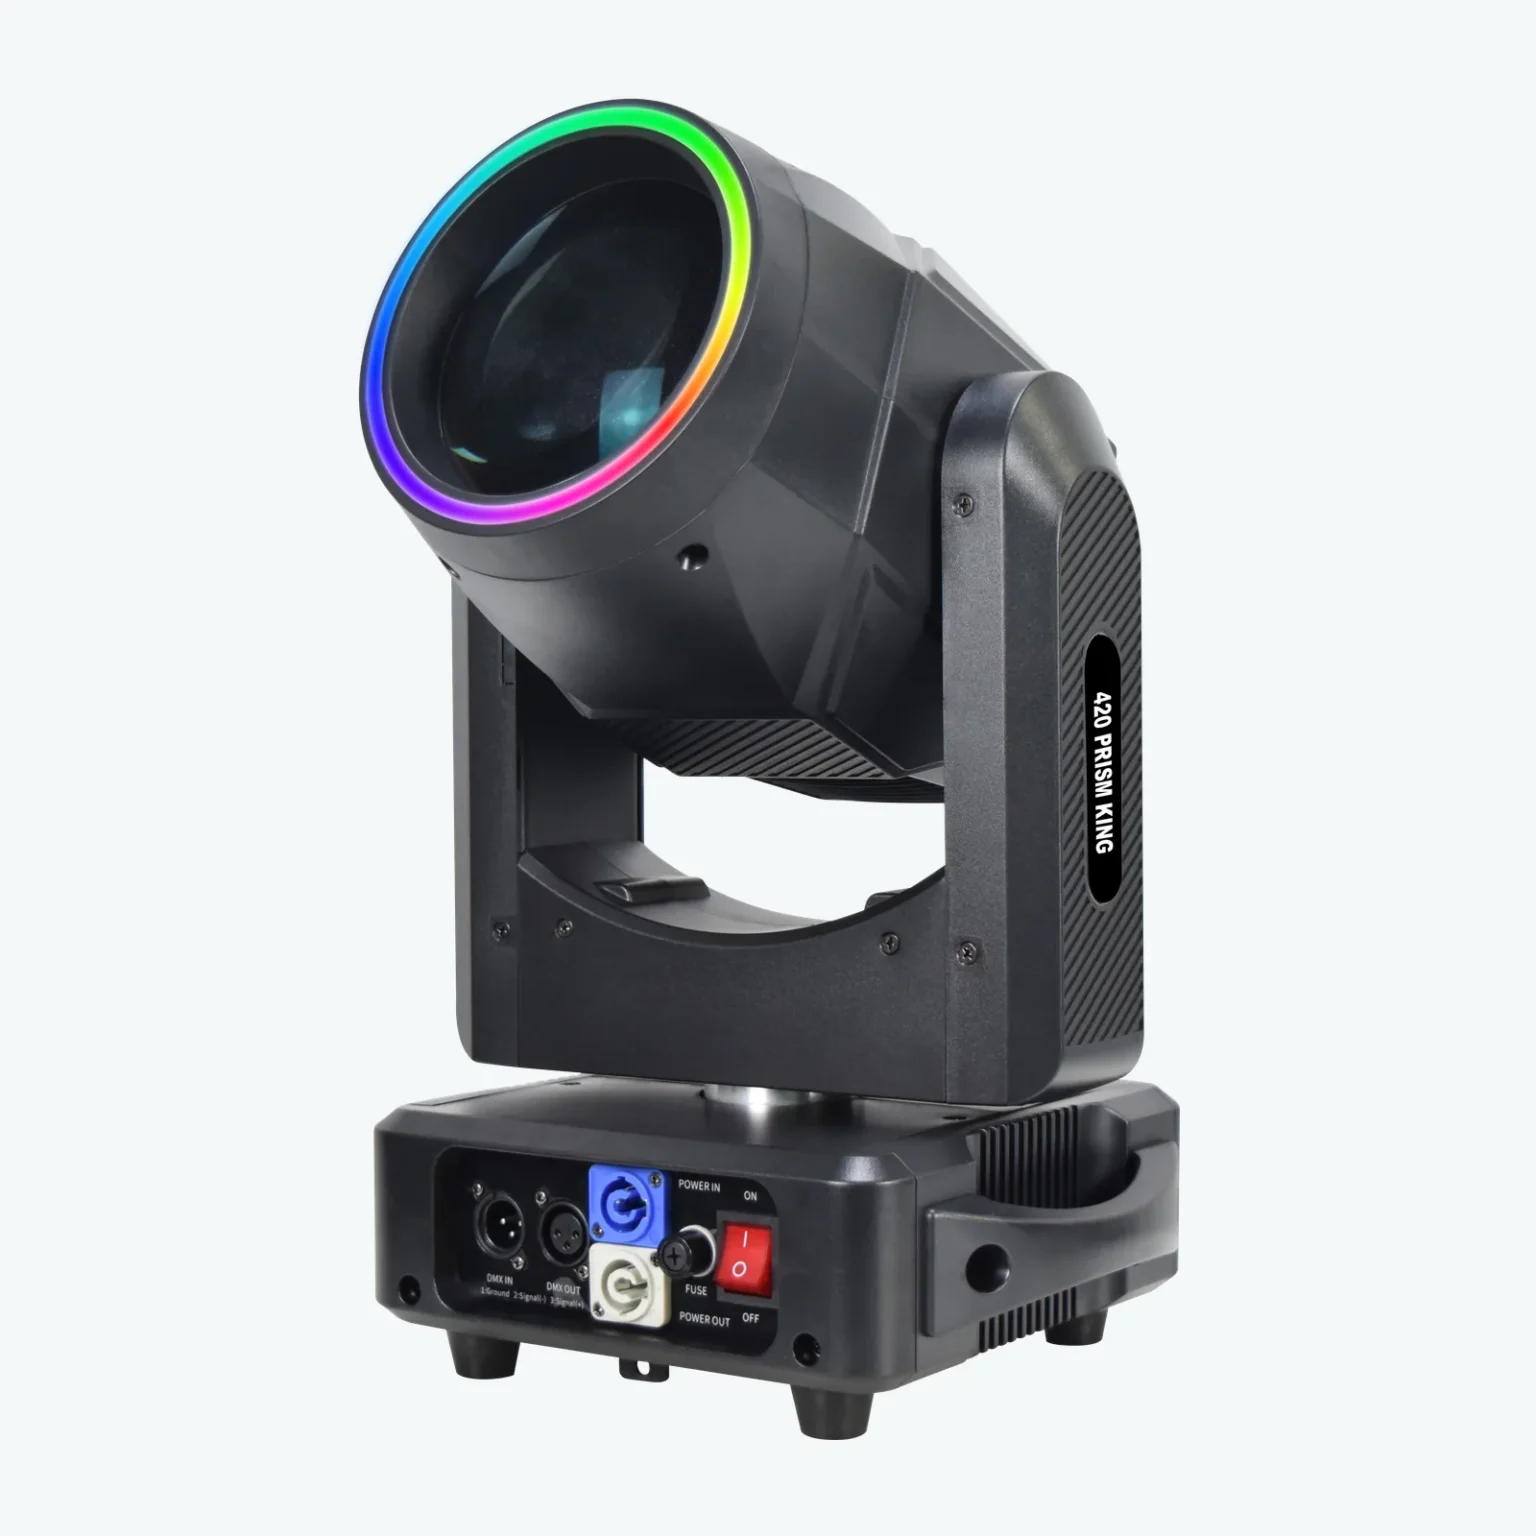
With installation and power already arranged by the responsible crew, check the DMX signal route and termination specified for the setup. For cable questions, see our DMX cable and XLR comparison. Choose empty rehearsal targets with movement paths clear of people and camera sightlines.
Make a patch sheet for independent control
Record the fixture ID, universe, start address and active mode together. The ID is how you select the unit on the desk. The universe identifies its DMX data stream, and the start address locates the first slot it uses. The mode determines the number of consecutive slots occupied.
For example, an 18-channel fixture starting at 001 occupies slots 1–18. A second independently controlled 18-channel unit can start at 019. Our DMX channels guide explains the allocation in more detail.
The two plans below use four units in Universe 1. Choose the column matching the mode on the fixtures and in the desk. Each plan is a separate example.
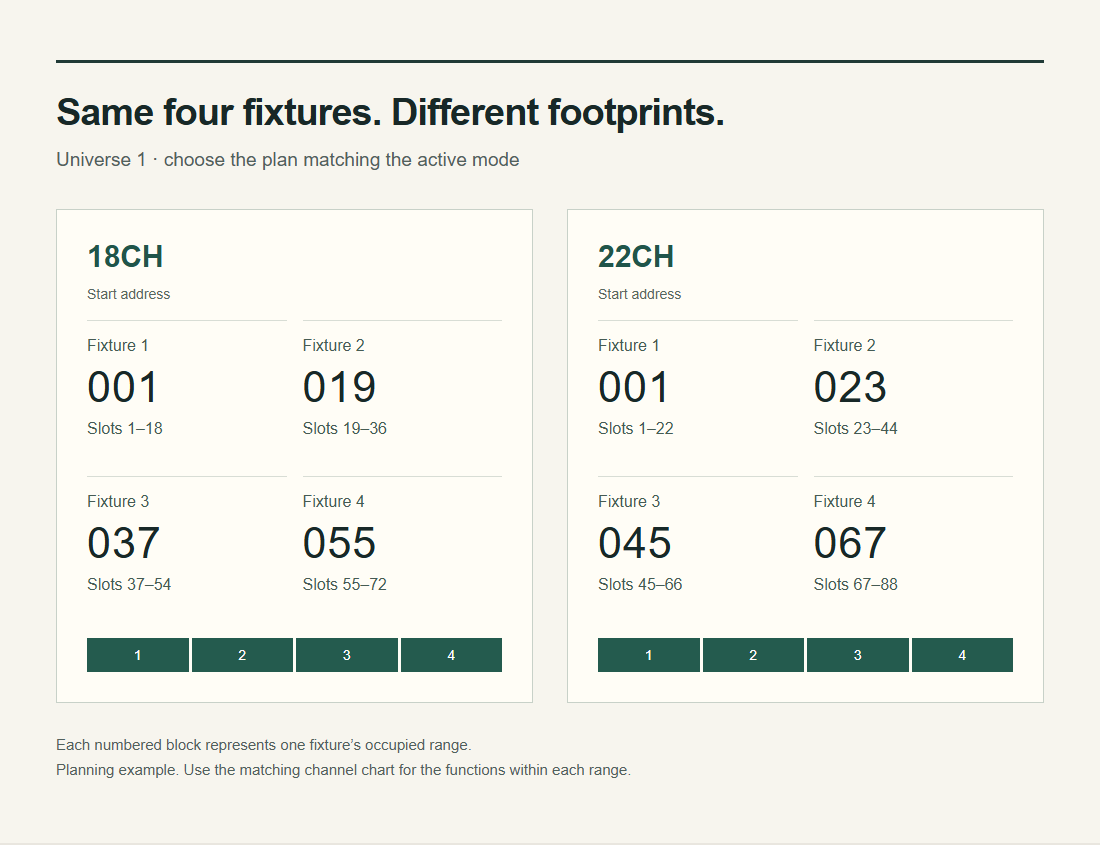
| Fixture ID | Universe | 18CH start / occupied range | 22CH start / occupied range |
|---|---|---|---|
| 1 | 1 | 001 / 1–18 | 001 / 1–22 |
| 2 | 1 | 019 / 19–36 | 023 / 23–44 |
| 3 | 1 | 037 / 37–54 | 045 / 45–66 |
| 4 | 1 | 055 / 55–72 | 067 / 67–88 |
Recalculate later addresses whenever a footprint changes. A change from 18CH to 22CH affects both the profile and the space needed in the patch. Save the updated record with the show file.
Test one fixture before building the group
Use this map to compare the 420 manual with the profile. These are channel numbers relative to the fixture’s start address. For a fixture starting at 019, its CH1 is universe slot 19.
| Control | 18CH layout | 22CH layout |
|---|---|---|
| Color / strobe / dimmer / gobo | CH1 / CH2 / CH3 / CH4 | Same |
| Prism selection and rotation | Prism1: CH5–6; Prism2: CH7–8 | Same |
| Focus; pan coarse/fine; tilt coarse/fine | CH9; CH10–11; CH12–13 | Same |
| Pan/tilt speed; Frost; lamp/reset control | CH14; CH15; CH16 | Same |
| LED strip effect / effect speed | CH17 / CH18 | CH21 / CH22 |
| Additional slots in the extended layout | — | CH17 Empty; CH18 Color Spd; CH19 Focus Spd; CH20 Gobo Spd |
The manual places dark, open and strobing ranges on CH2, while CH3 controls dimming from 0–100%. Check those ranges when building an open, steady beam. For the LED effect channel, 0–14 is listed as None; the remaining effects are not individually named. Keep a record of the effect actually observed rather than assigning unverified color or pixel labels.
Select one unit and use its chart to check a few basic functions individually. Bring the output up at the agreed target, make a small position change, select one color and test one prism. Return each effect to its known starting state before checking the next.
Compare the desk’s label with the response. If a pan command changes color, check the mode, profile, start address and any overlapping allocation before recording creative cues. For intermittent responses, inspect the signal setup and other active desk outputs as well.
Keep CH16 lamp-control and reset commands outside this basic cue exercise. Use the documented dimmer or shutter controls for a dark cue and follow the manufacturer’s lamp operating instructions. If the front ring is part of the look, include its required state in the record using the LED effect and speed channels for the selected mode.
Save a few useful presets
When programming moving head lights, reusable presets help keep different cues consistent. Your desk may call them palettes. Check whether a cue references the preset or stores independent values before relying on one preset update to change several cues.
Save Position A and Position B at agreed empty targets. For the optics, save an open-beam state and one prism look. On the 420 example, the selected prism could be its 8-facet structure with a chosen rotation direction. Save open white and one color-wheel selection separately.
Check what each preset records. Recalling a color preset should produce the intended color while the position remains as planned. Avoid accidentally storing unrelated attributes in every preset. For a slow position check, use the procedure in our 16-bit moving head control guide.
Build a reveal, dark move and second reveal
The important transition is from a lit look at A to a stationary reveal at B. Fade the output to darkness, let that finish, then change position and the required optics. Bring the output back only after the movement and optical changes have settled.
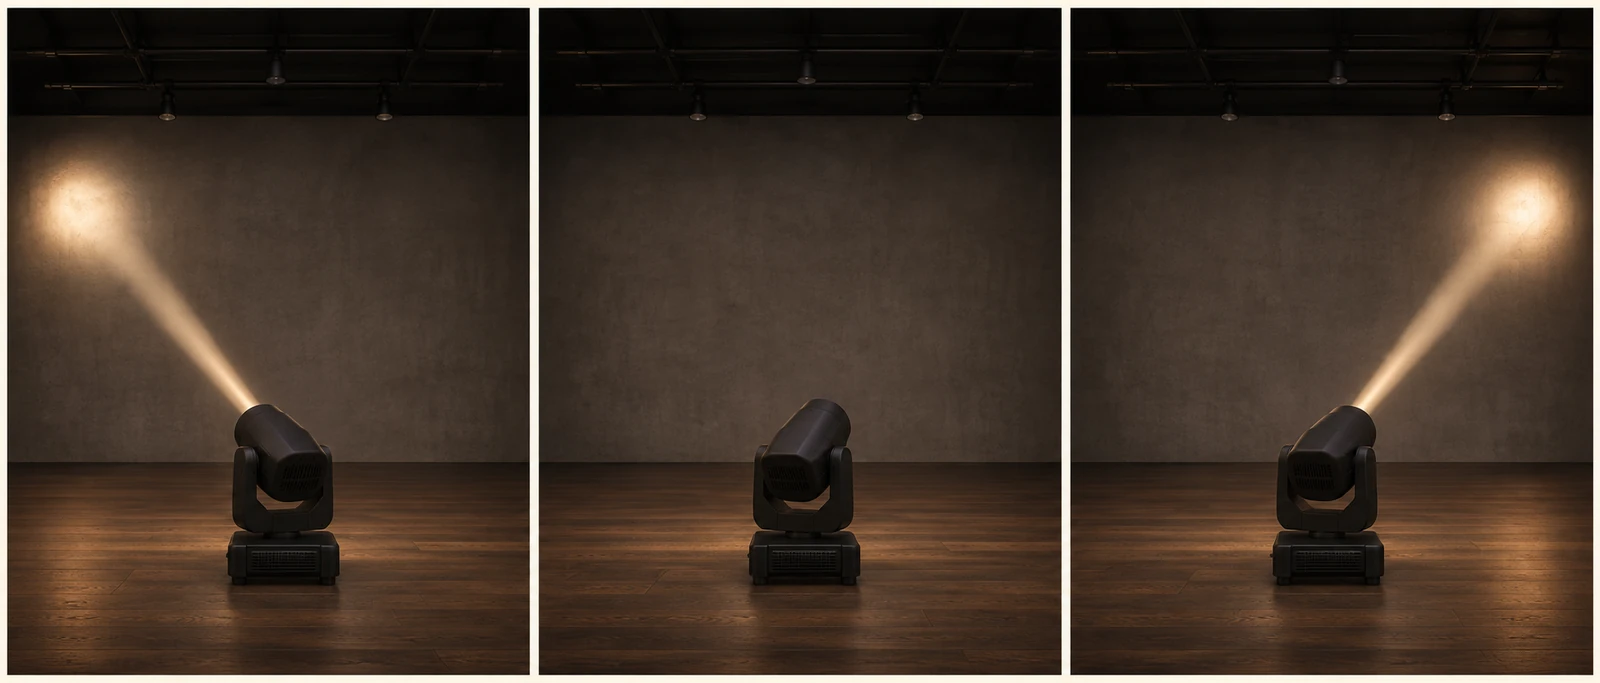
Some consoles can prepare a dark fixture using marking or move-in-black features. Others need separate cues or attribute timings. Use the desk’s documentation for its recording, tracking, delay and follow behavior. A single cue with a simultaneous intensity fade and position change may expose the movement before the output has gone dark.
Use this cue sheet as a planning example. “Open beam” means the chosen documented gobo and prism states for a clear beam. The settings and times still need to be recorded and checked on your controller.
| Cue | Intended state | Check before continuing |
|---|---|---|
| 1 · Reveal A | Position A, open white, open beam, chosen working intensity | Start from the prepared state and reveal a stationary look. |
| 2 · Prism at A | Hold position and color, add the selected prism look | Only the intended effect changes. |
| 3 · Dark move | Complete the fade to darkness, then move to B and prepare the next color and open-beam state | The entire move and optical change stay dark. Use separate timings or cues as the desk requires. |
| 4 · Reveal B | Hold B and the prepared optics, then raise output | Position, color and prism state have settled before the reveal. |
| 5 · Return preparation | Go dark, return to A and prepare the opening optics | Wait for completion before replaying Cue 1. |
On a tracking desk, an earlier value can continue until another instruction changes it. If the prism from Cue 2 remains in Cue 4, check which cue explicitly returns it to the open-beam state. Likewise, prepare open white before returning to Cue 1 if the previous look used a different color.
Play the sequence again from its prepared starting state. Watch the actual output as you test the grand master, blackout and playback release behavior. These controls can affect intensity and non-intensity attributes differently. Also check for values held in the programmer or another playback.
Keep an expected-versus-observed record
Write down what happened while the setup is still in front of you. The following checks help narrow a control problem without guessing a failed component.
| Expected result | If you observe a different result | Record and check |
|---|---|---|
| One selected fixture responds | Another fixture follows or behaves unexpectedly | IDs, universe, addresses and occupied ranges. |
| Each named attribute controls the intended function | Position controls affect color or optics | Active mode, matching chart and console profile. |
| A dark move followed by the intended reveal | Visible travel, or the previous prism/color remains | Output state, attribute timing, tracking and competing playbacks. |
| The opening look repeats | Playback changes after returning from the final cue | Starting state, preset references and values left active on the desk. |
Save the show file, patch sheet, preset names and observations together. Include the controller software version and fixture mode so another technician can reproduce the setup.
Connect the program to the fixture configuration
For a sample discussion or batch inquiry, share the console software, fixture quantity, intended scenes and required mode. Include the firmware version of existing units when matching an installed rig. These details help establish which channel chart, profile and supplied configuration need to agree before programming starts.
Review the 420 Prism King configuration and include these details with your inquiry.